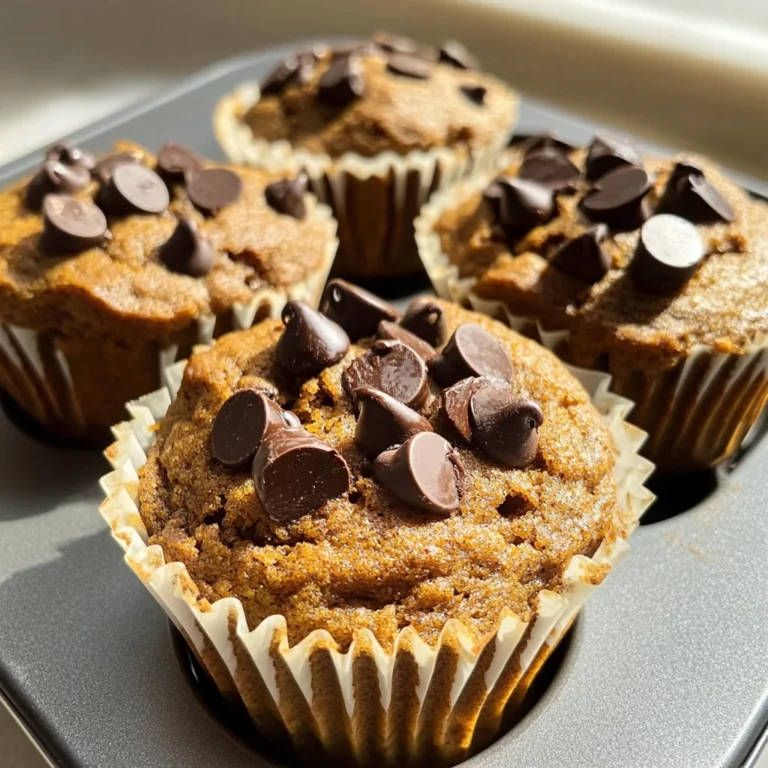
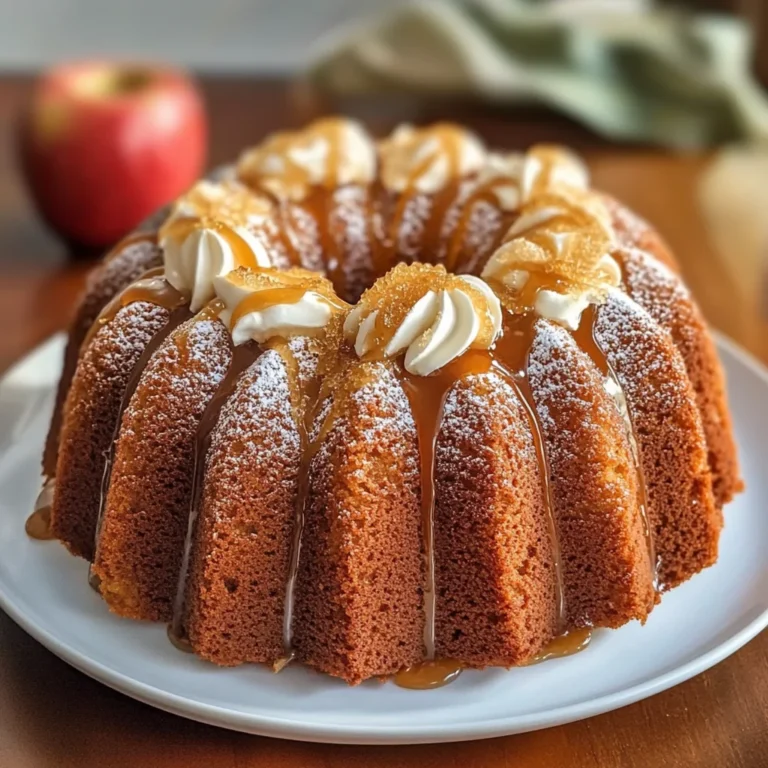
Wisconsin Apple Kringle
If you’re looking for a delightful treat that combines flaky pastry with warm, spiced apple goodness, then you absolutely need to make this Wisconsin Apple Kringle! This recipe is a cherished favorite of mine, and it’s perfect for any occasion—whether it’s a cozy breakfast on a chilly morning or a sweet dessert to impress your friends at a gathering. The combination of buttery layers and gooey apple filling creates an experience that feels like home, no matter where you are.
What makes this Wisconsin Apple Kringle truly special is its versatility. It’s easy enough to whip up on a busy weeknight yet impressive enough to serve at festive brunches or holiday celebrations. Trust me, once you take that first bite, you’ll understand why this pastry holds such a special place in my heart!
Why You’ll Love This Recipe
- Easy to Make: With simple ingredients and straightforward steps, this recipe is beginner-friendly and perfect for anyone looking to bake something special.
- Family-Friendly: Everyone loves the combination of tender pastry and sweet apple filling, making it a hit with both kids and adults alike.
- Make-Ahead Convenience: You can prepare the dough in advance and refrigerate it, saving time on busy mornings or when hosting guests.
- Deliciously Flavorful: The warm spices combined with the sweet glaze create an irresistible flavor that will have everyone coming back for seconds!
- Versatile Serving Options: Enjoy it warm for breakfast or let it cool for dessert—either way, it’s a delightful addition to any meal.
Ingredients You’ll Need
Making this Wisconsin Apple Kringle requires just a few simple, wholesome ingredients that you likely already have in your pantry. These ingredients come together beautifully to create a pastry that’s both comforting and delicious.
For the Dough
- 2 cups all-purpose flour
- 1 tsp kosher salt
- 3 tbsp granulated sugar
- 1 cup unsalted butter, cold and cubed
- 2 tsp active dry yeast
- 1/3 cup whole milk, warm
- 2 tsp water
- 1 egg
For the Filling
- 2 oz apple pie filling
- 1/4 tsp ground cardamom
For the Glaze
- 1 cup powdered sugar
- 1 tsp vanilla extract
- 2–3 tsp water (for glaze)
Variations
One of the best things about this Wisconsin Apple Kringle is how flexible it is! Feel free to get creative and customize it to suit your taste buds or seasonal ingredients.
- Add Different Fruits: Swap out the apple pie filling for other fruits like cherry or blueberry for a different flavor profile.
- Experiment with Spices: Try adding cinnamon or nutmeg along with the cardamom for an even warmer spice blend.
- Make It Nutty: Sprinkle chopped nuts like pecans or walnuts over the apple filling for added texture.
- Gluten-Free Option: Use gluten-free flour blend instead of all-purpose flour to make this recipe suitable for gluten-sensitive friends.
How to Make Wisconsin Apple Kringle
Step 1: Activate the Yeast
Start by combining warm milk, water, and yeast in a small bowl. Let this mixture sit for about 5 minutes until it becomes foamy. Activating the yeast is crucial as it helps your dough rise beautifully.
Step 2: Prepare the Dough
In a large bowl, whisk together flour, salt, and sugar. Next, cut in cold butter until the mixture resembles coarse crumbs. This step creates those flaky layers we love in pastries! Then add your activated yeast mixture along with the egg. Stir gently until just combined; be careful not to overmix because we want our pastry light and airy.
Step 3: Chill Out!
Form your dough into a ball and wrap it in plastic wrap before popping it into the refrigerator for at least one hour. Chilling helps solidify the butter so you’ll enjoy that lovely flakiness when baked.
Step 4: Roll It Out
Once chilled, preheat your oven to 375°F (190°C). On a floured surface, roll out your dough into a large rectangle. This step allows us to create enough space to fill our Kringle generously!
Step 5: Fill It Up
Spread your apple pie filling down the center of the dough rectangle and sprinkle with cardamom. The cardamom adds such warmth—trust me; you’ll love this flavor combination!
Step 6: Fold It Over
Carefully fold the dough over the filling lengthwise while sealing the edges well. Shape it into either an oval or horseshoe form before transferring it onto a parchment-lined baking sheet. This step ensures all that delicious filling stays inside as it bakes.
Step 7: Bake Until Golden
Brush with an optional egg wash if you’d like an extra golden crust! Bake in your preheated oven for about 22-25 minutes until it’s golden brown and flaky. Once done, let cool completely on a wire rack—it will smell amazing!
Step 8: Drizzle Some Sweetness
Finally, mix together powdered sugar, vanilla extract, and water until smooth. Drizzle this lovely glaze over your cooled Kringle—this final touch adds just the right amount of sweetness!
And there you have it—a gorgeous Wisconsin Apple Kringle ready to be enjoyed! Whether you slice into it at breakfast or save some for later as dessert, I hope this recipe brings joy to your kitchen just as it has brought joy to mine. Happy baking!
Pro Tips for Making Wisconsin Apple Kringle
Making the perfect Wisconsin Apple Kringle is all about attention to detail and a dash of love. Here are some pro tips to ensure your pastry turns out beautifully every time!
-
Use cold ingredients: Starting with cold butter and milk helps create that flaky crust we all adore. The cold temperature limits the butter from melting into the flour too quickly, allowing for those beautiful layers to form.
-
Don’t skip the chilling time: After mixing your dough, refrigerating it for at least an hour is crucial. This step not only firms up the dough but also enhances its texture, making it easier to roll out and shape.
-
Be generous with filling: While you don’t want to overstuff, using enough apple pie filling ensures each bite is bursting with flavor. The warm spiced apples are the star of the show, after all!
-
Monitor baking closely: Ovens can vary in temperature. Keep an eye on your Kringle in the last few minutes of baking to achieve that golden-brown perfection without burning.
-
Let it cool completely before glazing: This allows the glaze to set properly and not run off the warm pastry. A well-set glaze creates a lovely finish and makes each slice look irresistible.
How to Serve Wisconsin Apple Kringle
Serving your Wisconsin Apple Kringle can turn a simple dish into a delightful experience. Whether you’re hosting a brunch or enjoying a quiet morning at home, here are some ideas to elevate your presentation.
Garnishes
- Chopped nuts: Sprinkle some finely chopped walnuts or pecans on top of the glaze for added crunch and flavor.
- Fresh fruit: Serve with slices of fresh apple or pear for a refreshing contrast that complements the sweet filling.
- Whipped cream: A dollop of non-dairy whipped topping adds an extra layer of indulgence, making each bite even more decadent.
Side Dishes
- Yogurt parfaits: Layer creamy yogurt with granola and fresh fruits for a light, nutritious side that balances the sweetness of the Kringle.
- Crisp salad: A simple green salad drizzled with vinaigrette can provide a refreshing counterpoint to your rich pastry.
- Coffee or tea: A hot cup of coffee or herbal tea pairs perfectly with this sweet treat, enhancing its cozy vibe.
- Sausage links: For those who enjoy a heartier breakfast, serve alongside veggie sausage links for a satisfying meal that rounds out your table beautifully.
Enjoy every delicious bite of your Wisconsin Apple Kringle with these serving suggestions!
Make Ahead and Storage
This Wisconsin Apple Kringle is not only a delight to make but also perfect for meal prep! You can easily whip it up ahead of time and enjoy its flavors throughout the week. Here’s how to store and preserve your delicious pastry.
Storing Leftovers
- Keep any leftover Kringle in an airtight container at room temperature for up to 2 days.
- For longer freshness, refrigerate it for up to a week.
- If you notice the crust getting soft, simply warm it slightly in the oven before serving.
Freezing
- Allow the baked Kringle to cool completely before freezing.
- Wrap it tightly in plastic wrap or aluminum foil, then place it in a freezer-safe bag.
- It can be frozen for up to 3 months. Just remember to label the bag with the date!
Reheating
- To reheat from frozen, allow it to thaw in the refrigerator overnight.
- Warm in a preheated oven at 350°F (175°C) for about 10-15 minutes until heated through.
- Enjoy fresh-tasting pastry that feels just like it was made today!
FAQs
Here are some common questions about making Wisconsin Apple Kringle:
Can I use other fillings besides apple pie filling?
Absolutely! This versatile pastry can be filled with other fruits or even cream cheese mixtures. Just ensure your filling is not too runny.
How long will Wisconsin Apple Kringle last?
When stored properly, Wisconsin Apple Kringle can last for about 2 days at room temperature or up to a week in the refrigerator.
Is Wisconsin Apple Kringle difficult to make?
Not at all! With simple ingredients and straightforward steps, anyone can master this delightful pastry.
Can I make Wisconsin Apple Kringle gluten-free?
Yes! Substitute all-purpose flour with a gluten-free blend designed for baking.
What pairs well with Wisconsin Apple Kringle?
This delicious treat goes wonderfully with coffee or tea, making it perfect for breakfast or an afternoon snack!
Final Thoughts
I hope you find joy in making this Wisconsin Apple Kringle as much as I do! Its flaky layers and warm apple filling bring comfort and happiness—perfect for any occasion. Whether you’re sharing it with friends or indulging on your own, it’s sure to become a favorite. Happy baking, and I can’t wait for you to try this wonderful recipe!
Wisconsin Apple Kringle
Indulge in the warmth and comfort of Wisconsin Apple Kringle, a delightful pastry that combines flaky layers with a spiced apple filling. This beloved treat is perfect for any occasion, whether enjoyed as a cozy breakfast or a sweet dessert to impress guests. The buttery dough creates a beautiful contrast with the gooey apple goodness, making each bite a heartwarming experience. Easy enough for beginners yet sophisticated enough for festive gatherings, this recipe is sure to become a favorite in your kitchen.
- Prep Time: 20 minutes
- Cook Time: 25 minutes
- Total Time: 45 minutes
- Yield: Approximately 8 servings 1x
- Category: Dessert
- Method: Baking
- Cuisine: American
Ingredients
- 2 cups all-purpose flour
- 1 tsp kosher salt
- 3 tbsp granulated sugar
- 1 cup unsalted butter, cold and cubed
- 2 tsp active dry yeast
- 1/3 cup whole milk, warm
- 2 tsp water
- 1 egg
- 2 oz apple pie filling
- 1/4 tsp ground cardamom
- 1 cup powdered sugar
- 1 tsp vanilla extract
- 2–3 tsp water (for glaze)
Instructions
- Activate the yeast by combining warm milk, water, and yeast in a bowl; let sit until foamy (about 5 minutes).
- In a large bowl, whisk together flour, salt, and sugar. Cut in cold butter until the mixture resembles coarse crumbs.
- Add activated yeast mixture and egg; stir gently until combined.
- Form dough into a ball, wrap in plastic wrap, and refrigerate for at least 1 hour.
- Preheat oven to 375°F (190°C). Roll out chilled dough into a rectangle on floured surface.
- Spread apple pie filling down the center and sprinkle with cardamom.
- Fold dough over filling lengthwise and seal edges. Shape into an oval or horseshoe and transfer to parchment-lined baking sheet.
- Bake for 22-25 minutes until golden brown. Cool completely before drizzling with glaze made from powdered sugar, vanilla extract, and water.
Nutrition
- Serving Size: 1 slice
- Calories: 230
- Sugar: 9g
- Sodium: 150mg
- Fat: 11g
- Saturated Fat: 7g
- Unsaturated Fat: 4g
- Trans Fat: 0g
- Carbohydrates: 30g
- Fiber: 1g
- Protein: 3g
- Cholesterol: 40mg