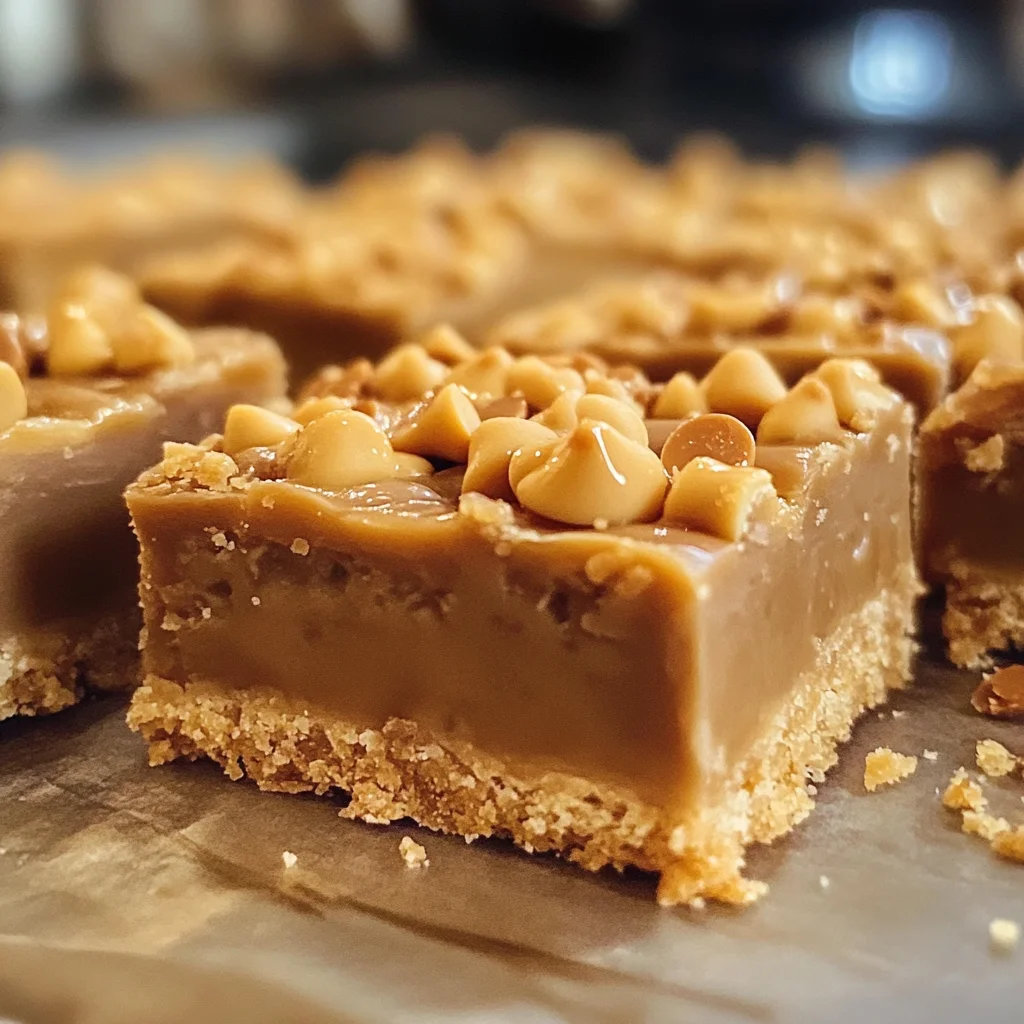
Trisha Yearwood Butterscotch Bars
If you’re looking for a sweet treat that brings smiles to everyone’s faces, you’ve come to the right place! Trisha Yearwood Butterscotch Bars are a delightful blend of chewy goodness and nutty flavor that makes them so special. They’re easy to whip up and perfect for any occasion—whether it’s a busy weeknight dessert or a family gathering. Trust me, once you take a bite of these bars, you’ll understand why they hold such a cherished spot in my recipe collection.
There’s something comforting about the combination of peanut butter and butterscotch chips that just feels like home. Plus, they’re great for sharing! Your friends and family will love these bars, and you’ll love how simple they are to make. Let’s dive into why you’ll adore this recipe!
Why You’ll Love This Recipe
- Quick to prepare: With just 15 minutes of prep time, you can have these delicious bars baking in no time.
- Family-friendly appeal: Everyone from kids to adults will enjoy the sweet, nutty flavors of butterscotch and peanut butter.
- Perfect for sharing: These bars cut easily into squares; they’re great for potlucks or bake sales!
- Make-ahead convenience: They store well, so you can make them ahead of time and enjoy them throughout the week.
- Irresistible flavor: The combination of creamy peanut butter and sweet butterscotch is simply heavenly.
Ingredients You’ll Need
To make these lovely Trisha Yearwood Butterscotch Bars, you’ll need some simple and wholesome ingredients that I’m sure you already have in your pantry. Here’s what you’ll need:
For the Bars
- 1/2 cup butter, at room temperature
- 1/2 cup granulated sugar
- 1/2 cup packed brown sugar
- 1/2 cup creamy peanut butter
- 1 large egg
- 1 teaspoon vanilla extract
- 1 cup all-purpose flour
- 1 teaspoon baking soda
- 1/4 teaspoon salt
- 1/2 cup quick-cooking oatmeal
- 6 ounces butterscotch chips
For the Glaze
- 1 cup confectioners’ sugar
- 1/4 cup creamy peanut butter
- 4 tablespoons milk
Variations
One of the best things about Trisha Yearwood Butterscotch Bars is their versatility! Feel free to get creative with these variations:
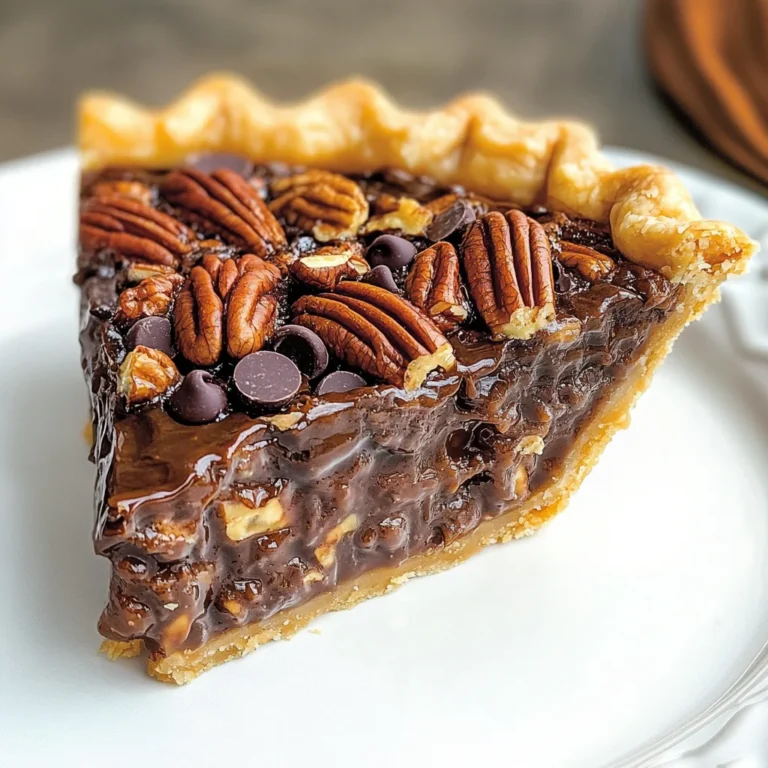
- Add nuts: Toss in some chopped walnuts or pecans for an extra crunch.
- Mix in chocolate chips: Combine butterscotch chips with dark or milk chocolate chips for a richer flavor.
- Use different nut butters: Swap out peanut butter for almond or cashew butter if you’re feeling adventurous.
- Top with sprinkles: Add colorful sprinkles on top of the glaze for a festive touch!
How to Make Trisha Yearwood Butterscotch Bars
Step 1: Preheat Your Oven
First things first—preheat your oven to 350°F (175°C). This ensures that your bars bake evenly. While that’s warming up, grease a 9×13-inch baking dish so the bars come out easily once baked.
Step 2: Cream Together the Base Ingredients
In a mixing bowl, cream together your room temperature butter, granulated sugar, brown sugar, and 1/2 cup of peanut butter until everything is light and fluffy. This step is crucial as it incorporates air into your mixture, making your bars delightfully soft.
Step 3: Add Egg and Vanilla
Next, beat in one large egg and one teaspoon of vanilla extract until well combined. These ingredients add moisture and flavor that will keep your bars deliciously rich.
Step 4: Combine Dry Ingredients
In another bowl, mix together your dry ingredients: flour, baking soda, salt, and oatmeal. Gradually add this mixture to your wet ingredients until just combined. Be careful not to over-mix; we want those chewy textures!
Step 5: Spread Batter & Add Chips
Spread the batter evenly in your prepared pan. Don’t forget to sprinkle those butterscotch chips on top! They will melt slightly during baking and create those delightful pockets of sweetness.
Step 6: Bake Until Golden
Bake in your preheated oven for about 20-25 minutes or until the edges are lightly browned. Keep an eye on them; this is where the magic happens!
Step 7: Prepare Your Sweet Glaze
While the bars are baking, mix together confectioners’ sugar, remaining peanut butter, and milk in a small bowl until smooth. This glaze adds an irresistible finish!
Step 8: Glaze & Cool
Once your bars come out of the oven, pour that luscious glaze over them while they’re still warm. Let them cool completely before cutting into squares—this helps maintain their shape.
And there you have it! A batch of Trisha Yearwood Butterscotch Bars ready for sharing (or keeping all to yourself). Enjoy every bite!
Pro Tips for Making Trisha Yearwood Butterscotch Bars
Making these butterscotch bars is a delightful experience, and a few simple tips can help you achieve the best results!
-
Use room temperature ingredients: This ensures that butter and peanut butter blend smoothly, creating a light and fluffy batter which is essential for texture.
-
Don’t overmix the batter: Mixing just until combined prevents gluten from developing too much, keeping your bars chewy and tender instead of tough.
-
Check for doneness: Every oven is different! Start checking your bars at 20 minutes by inserting a toothpick in the center; it should come out with a few moist crumbs but no wet batter.
-
Let them cool completely: Allowing the bars to cool before cutting helps them set properly, making it easier to achieve clean, neat squares that look as good as they taste.
-
Experiment with add-ins: Feel free to customize your bars by adding nuts or even swapping out butterscotch chips for chocolate or caramel chips to suit your taste preferences!
How to Serve Trisha Yearwood Butterscotch Bars
These chewy treats are not only delicious on their own but can also be presented beautifully for any occasion. Here are some serving ideas that will make your butterscotch bars even more enticing!
Garnishes
- Chopped nuts: A sprinkle of chopped peanuts or walnuts adds a crunchy texture that contrasts nicely with the soft bars.
- Whipped topping: A dollop of non-dairy whipped topping can give an elegant finish while enhancing the dessert’s creaminess.
- Chocolate drizzle: A simple drizzle of melted dairy-free chocolate over the top adds both visual appeal and an extra layer of flavor.
Side Dishes
- Fresh fruit salad: A colorful mix of seasonal fruits provides a refreshing contrast to the richness of the butterscotch bars.
- Vegan ice cream: Pairing these bars with a scoop of almond or coconut-based ice cream creates a delightful dessert experience that’s creamy and satisfying.
- Coffee or tea: Serving warm beverages complements the sweetness of the bars, making them perfect for afternoon gatherings or cozy evenings.
- Nutty granola: A side of crunchy granola can provide an interesting texture contrast while also being a great way to enjoy some added fiber.
With these tips and serving suggestions, your Trisha Yearwood Butterscotch Bars are sure to impress family and friends alike! Enjoy baking and sharing this delightful treat!
Make Ahead and Storage
These Trisha Yearwood Butterscotch Bars are perfect for meal prep! You can easily make a batch ahead of time, allowing you to enjoy these delicious treats throughout the week or share them with friends and family.
Storing Leftovers
- Store the butterscotch bars in an airtight container at room temperature for up to 4 days.
- If you prefer them chilled, keep them in the refrigerator for up to a week.
- To maintain freshness, separate layers with parchment paper if stacking.
Freezing
- Cut the bars into individual pieces before freezing for easy serving later.
- Wrap each bar tightly in plastic wrap, then place them in a freezer-safe bag or container.
- They can be frozen for up to 3 months. Be sure to label and date your containers!
Reheating
- To enjoy warm bars, preheat your oven to 350°F (175°C).
- Place the desired number of bars on a baking sheet and heat for about 10 minutes.
- Alternatively, microwave each bar on a microwave-safe plate for about 15-20 seconds until warm.
FAQs
Got questions? We’ve got answers! Here are some common queries about making Trisha Yearwood Butterscotch Bars.
Can I use crunchy peanut butter instead of creamy?
Yes! Using crunchy peanut butter will add an extra layer of texture to your Trisha Yearwood Butterscotch Bars, giving them a delightful crunch.
How long do Trisha Yearwood Butterscotch Bars last?
If stored properly in an airtight container, these delicious butterscotch bars can last up to 4 days at room temperature or up to a week in the refrigerator.
Can I substitute butterscotch chips with another type of chip?
Absolutely! If you’re looking for a different flavor profile, feel free to substitute butterscotch chips with chocolate chips or even white chocolate chips.
Final Thoughts
I hope this recipe for Trisha Yearwood Butterscotch Bars brings joy to your kitchen and smiles to your family’s faces. These chewy, nutty treats are not only simple to make but also incredibly satisfying. Enjoy every bite and don’t hesitate to share with loved ones—these bars are too good not to share! Happy baking!
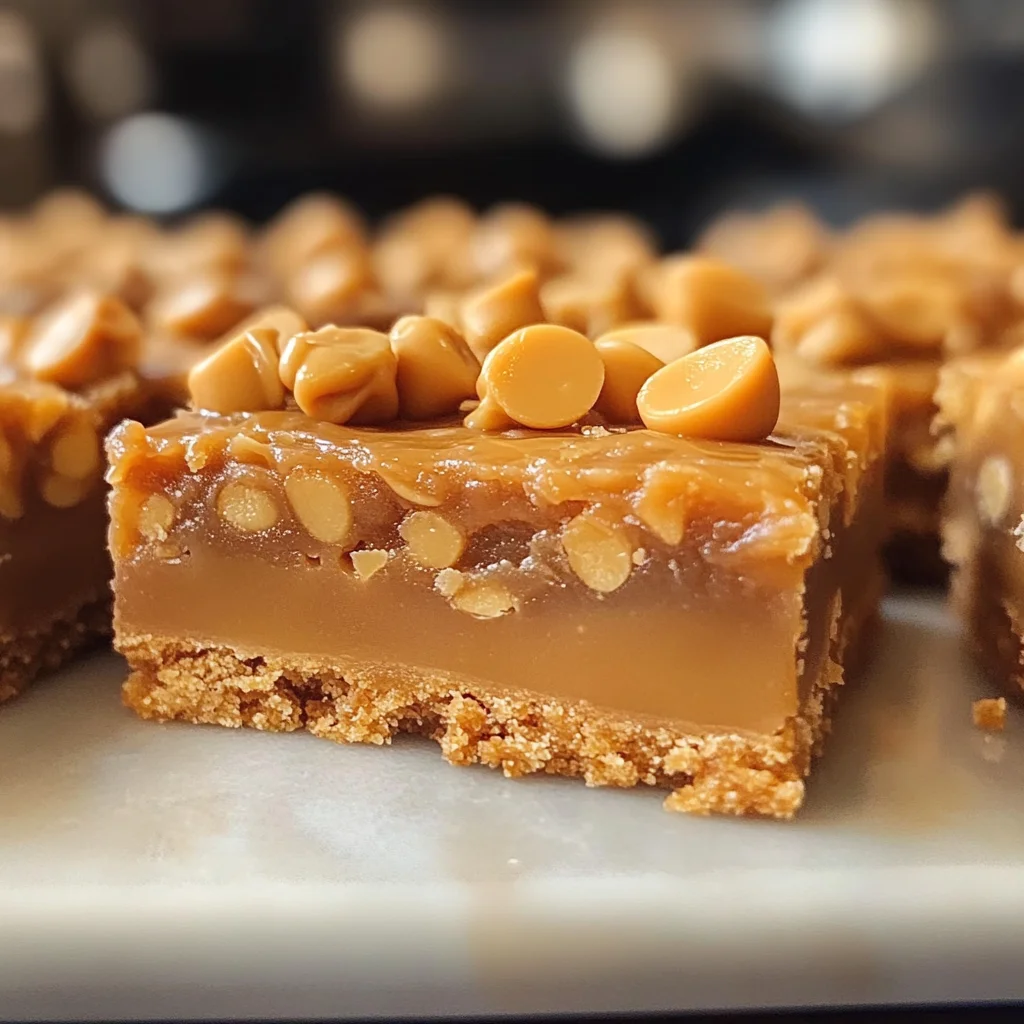
Trisha Yearwood Butterscotch Bars
Indulge in the delightful sweetness of Trisha Yearwood Butterscotch Bars, a perfect treat for any occasion. These bars feature a rich combination of creamy peanut butter and butterscotch chips, creating an irresistible chewy texture that will have everyone reaching for seconds. Easy to whip up, they are ideal for busy weeknights or family gatherings. With just 15 minutes of prep time and straightforward instructions, you can enjoy these scrumptious bars in no time. They also store well, making them a fantastic option for meal prep or sharing with friends. Treat yourself and your loved ones to these comforting and satisfying dessert bars!
- Prep Time: 15 minutes
- Cook Time: 25 minutes
- Total Time: 40 minutes
- Yield: Serves 16 1x
- Category: Dessert
- Method: Baking
- Cuisine: American
Ingredients
- 1/2 cup butter, at room temperature
- 1/2 cup granulated sugar
- 1/2 cup packed brown sugar
- 1/2 cup creamy peanut butter
- 1 large egg
- 1 teaspoon vanilla extract
- 1 cup all-purpose flour
- 1 teaspoon baking soda
- 1/4 teaspoon salt
- 1/2 cup quick-cooking oatmeal
- 6 ounces butterscotch chips
- 1 cup confectioners' sugar
- 1/4 cup creamy peanut butter
- 4 tablespoons milk
Instructions
- Preheat your oven to 350°F (175°C) and grease a 9×13-inch baking dish.
- In a mixing bowl, cream together room temperature butter, granulated sugar, brown sugar, and peanut butter until light and fluffy.
- Beat in the egg and vanilla extract until well combined.
- In another bowl, mix together flour, baking soda, salt, and oatmeal; gradually add this mixture to the wet ingredients until just combined.
- Spread the batter into the prepared pan and sprinkle butterscotch chips on top.
- Bake for 20-25 minutes or until edges are lightly browned.
- Prepare glaze by mixing confectioners' sugar, peanut butter, and milk until smooth; pour over warm bars.
- Let cool completely before cutting into squares.
Nutrition
- Serving Size: 1 bar (56g)
- Calories: 210
- Sugar: 15g
- Sodium: 90mg
- Fat: 10g
- Saturated Fat: 4g
- Unsaturated Fat: 6g
- Trans Fat: 0g
- Carbohydrates: 30g
- Fiber: 1g
- Protein: 3g
- Cholesterol: 20mg