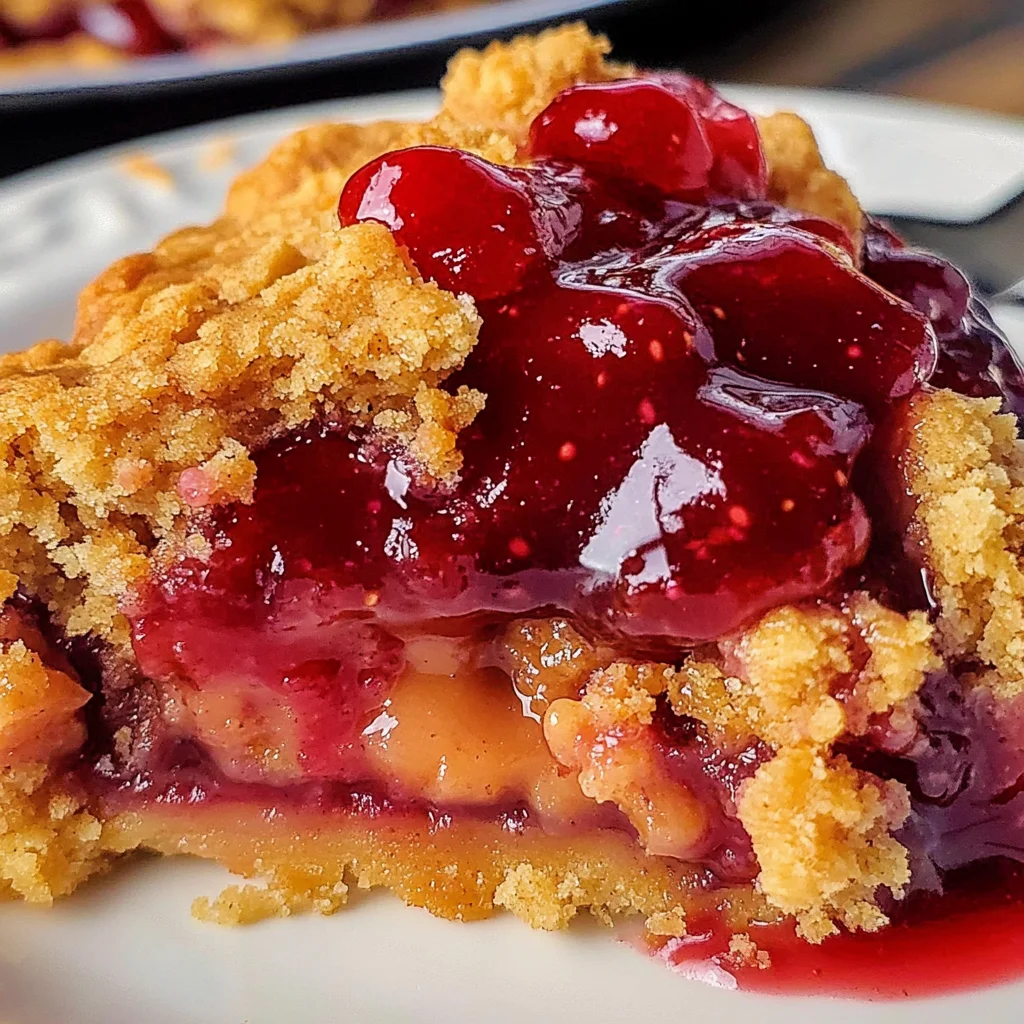
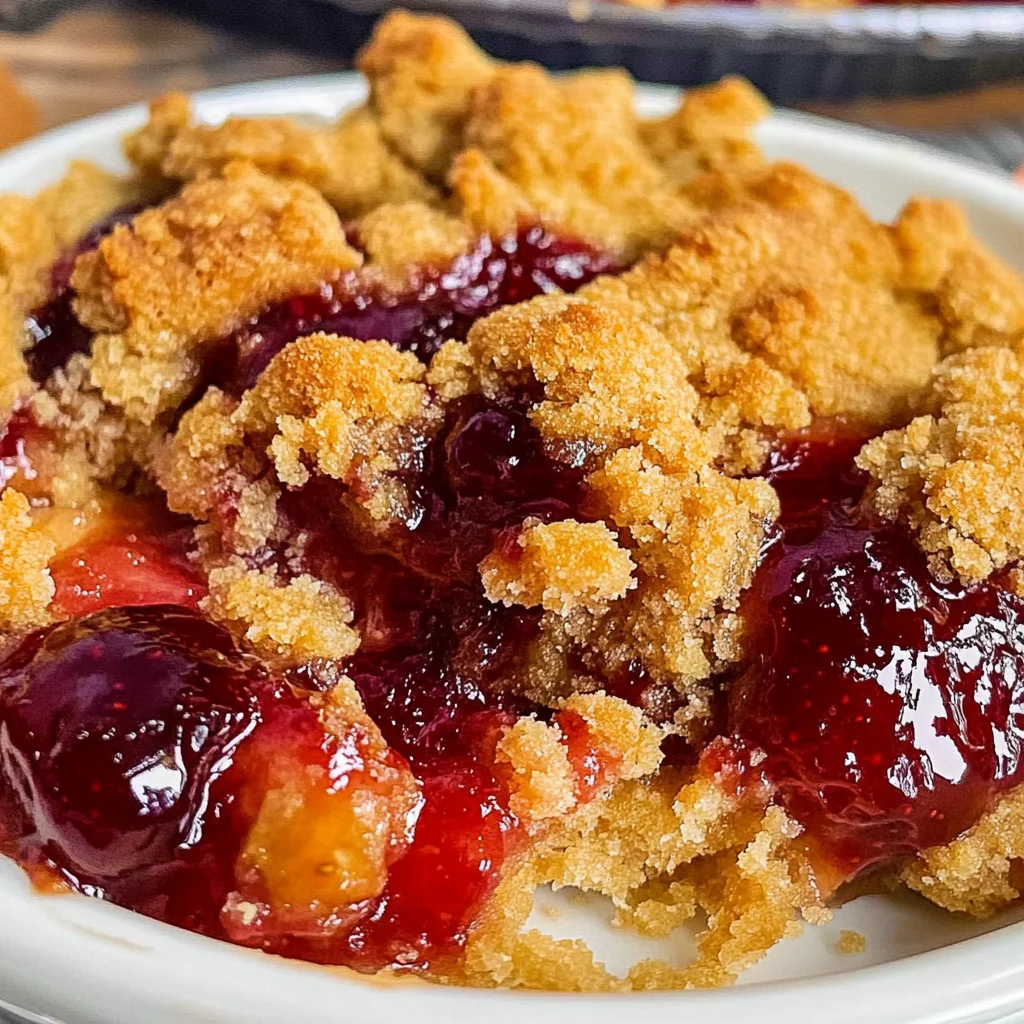
Peanut Butter and Jelly Cobbler
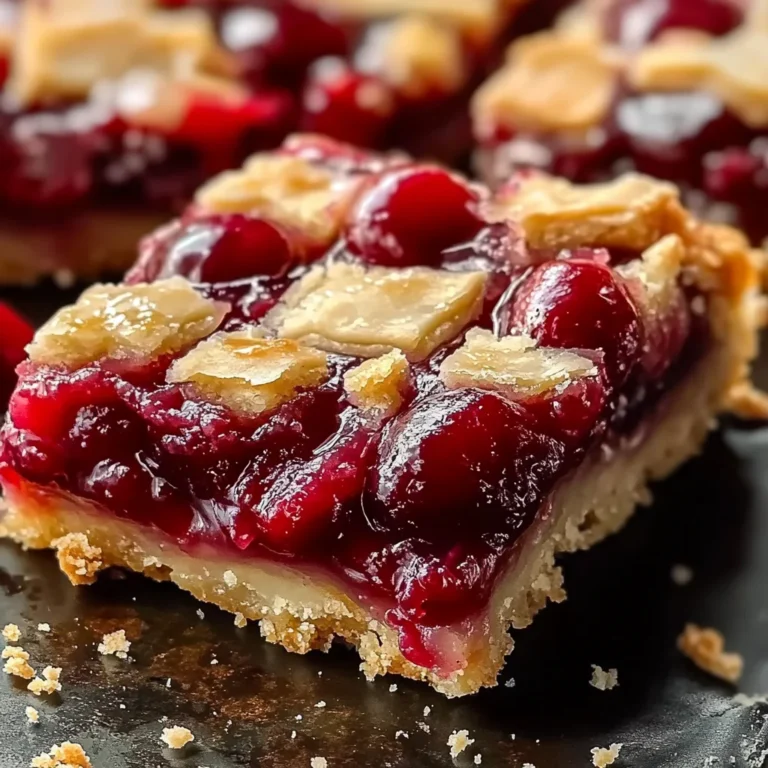
If you’re looking for a dessert that brings back childhood memories while being incredibly easy to make, let me introduce you to my favorite Peanut Butter and Jelly Cobbler! This delightful treat combines the classic flavors of peanut butter and strawberry in a comforting cobbler style. It’s perfect for busy weeknights or family gatherings when you want to whip up something special without spending all day in the kitchen.
What I love most about this recipe is its simplicity. With just three ingredients, you can create a warm, gooey dessert that everyone will adore. Whether you’re serving it at a potluck or just indulging on a cozy evening at home, this Peanut Butter and Jelly Cobbler is sure to be a hit!
Why You’ll Love This Recipe
- Quick to Prepare: With only 8 minutes of prep time, you can have this dessert ready to pop in the oven in no time!
- Family-Friendly Flavor: The combination of peanut butter and strawberry pie filling is always a crowd-pleaser, making it great for all ages.
- Make-Ahead Convenience: You can prepare it ahead of time and simply bake it when you’re ready to serve, saving you stress during gatherings.
- One-Dish Wonder: This recipe requires just one baking dish, making clean-up a breeze!
- Deliciously Satisfying: The rich peanut butter cookie topping paired with sweet strawberry filling creates an irresistible flavor explosion.
Ingredients You’ll Need
This Peanut Butter and Jelly Cobbler recipe uses simple, wholesome ingredients that you might already have in your pantry. Here’s what you’ll need:
- 2 x 21 oz cans of strawberry pie filling
- 17.5 oz package of peanut butter cookie mix
- 1/2 cup of butter, melted
Variations
One of the best things about this recipe is how flexible it is! Here are some fun variations to try if you’re feeling adventurous:
- Change the Fruit Filling: Swap out the strawberry pie filling for blueberry or cherry for a different fruity twist.
- Add Nuts: Stir in some chopped peanuts with the cookie mixture for an extra crunch.
- Top with Ice Cream: Serve warm cobbler with a scoop of dairy-free ice cream on top for an indulgent treat.
- Experiment with Spices: Add a sprinkle of cinnamon or nutmeg to the cookie mix for added warmth and flavor.
How to Make Peanut Butter and Jelly Cobbler
Step 1: Preheat Your Oven
Preheat your oven to 375F. Preheating ensures that your cobbler bakes evenly from the start, giving you that perfectly golden-brown topping.
Step 2: Prepare the Pie Filling
Pour both cans of strawberry pie filling into a 9 x 13 inch baking dish and spread it out evenly. This forms the sweet base of your cobbler, allowing all those delicious flavors to meld together as they bake.
Step 3: Mix Cookie Dough
In a mixing bowl, combine the peanut butter cookie mix with melted butter. Stir until fully combined. This step is crucial because it creates that rich, decadent topping that will contrast beautifully with the sweet fruit underneath.
Step 4: Add Cookie Dough Topping
Sprinkle the cookie dough mixture in small clumps over the strawberry pie filling. Try to cover as much surface area as possible; this helps achieve an even bake and ensures every bite has that delightful peanut butter flavor.
Step 5: Bake Your Cobbler
Place your baking dish in the oven and bake until the peanut butter cookie topping is nicely browned—about 35 to 40 minutes. Your kitchen will fill with wonderful aromas during this time!
Step 6: Cool Before Serving
Once baked, remove your dish from the oven and let it cool slightly. This waiting period allows everything to set up just right before diving in.
Step 7: Enjoy!
Serve your Peanut Butter and Jelly Cobbler warm, perhaps with some dairy-free ice cream on top if you’re feeling fancy! Enjoy every bite of this comforting dessert that’s sure to bring smiles all around.
Pro Tips for Making Peanut Butter and Jelly Cobbler
Before you dive into making this delightful dessert, here are some pro tips to ensure your Peanut Butter and Jelly Cobbler turns out perfectly every time!
-
Use room temperature ingredients: Bringing your butter and cookie mix to room temperature can help them combine more easily, resulting in a smoother topping that bakes evenly.
-
Spread pie filling evenly: Ensuring the strawberry pie filling is spread out evenly in the dish helps the cobbler bake uniformly, allowing each bite to be filled with delicious flavor.
-
Check for doneness: Baking times may vary depending on your oven. Keep an eye on the cobbler towards the end of the baking time, checking for a golden-brown topping to know it’s ready.
-
Let it cool slightly: Allowing the cobbler to cool for a few minutes after baking helps set the layers. This way, when you serve it, it won’t fall apart.
-
Experiment with different pie fillings: While strawberry is classic, feel free to try other fruit pie fillings like blueberry or mixed berry for a fun twist on this recipe!
How to Serve Peanut Butter and Jelly Cobbler
Serving Peanut Butter and Jelly Cobbler is as much about presentation as it is about taste! Here are some ideas to make your dessert even more appealing.
Garnishes
- Whipped coconut cream: A dollop of whipped coconut cream adds a light, airy touch that complements the rich flavors of peanut butter and jelly.
- Chopped nuts: Sprinkle some crushed peanuts or walnuts on top for an added crunch that enhances both texture and flavor.
Side Dishes
- Vanilla ice cream: A scoop of dairy-free vanilla ice cream served alongside warm cobbler creates a delicious contrast in temperature and creaminess.
- Fresh fruit salad: A refreshing mix of seasonal fruits provides a bright and healthy balance to the richness of the cobbler.
- Greek yogurt: For a creamy element that adds protein, offer a side of Greek yogurt drizzled with honey. It enhances the overall experience while keeping things light.
- Chocolate sauce: Drizzling some dairy-free chocolate sauce over each serving can elevate the dessert into an indulgent treat everyone will love.
With these tips and serving ideas, your Peanut Butter and Jelly Cobbler will not only taste amazing but also look stunning at any gathering. Enjoy every bite!
Make Ahead and Storage
This Peanut Butter and Jelly Cobbler is not only delicious but also a fantastic option for meal prep! You can easily make it ahead of time and store it for later enjoyment.
Storing Leftovers
- Allow the cobbler to cool completely before storing.
- Cover the baking dish with plastic wrap or transfer the leftovers to an airtight container.
- Store in the refrigerator for up to 3 days.
Freezing
- To freeze, cut the cooled cobbler into individual portions.
- Wrap each portion tightly in plastic wrap and place them in a freezer-safe bag or container.
- Freeze for up to 2 months. Remember to label with the date!
Reheating
- To reheat, remove the desired portion from the freezer and let it thaw in the refrigerator overnight.
- Warm in the microwave or place it in a preheated oven at 350°F until heated through, about 10-15 minutes.
FAQs
Here are some common questions you might have about this delightful dessert.
Can I use other fruit fillings for Peanut Butter and Jelly Cobbler?
Absolutely! While strawberry pie filling adds a lovely sweetness, you can substitute it with blueberry, cherry, or even mixed berry fillings for a different flavor profile.
How do I make Peanut Butter and Jelly Cobbler without cookie mix?
If you don’t have peanut butter cookie mix on hand, you can create your own by mixing together flour, sugar, baking powder, salt, and peanut butter. Just follow your favorite peanut butter cookie recipe as a base!
What should I serve with Peanut Butter and Jelly Cobbler?
This cobbler is wonderful on its own, but you can enhance it with a scoop of dairy-free ice cream or whipped topping to complement the flavors beautifully!
Can I make Peanut Butter and Jelly Cobbler gluten-free?
Yes! Simply use a gluten-free peanut butter cookie mix instead of regular cookie mix. The rest of the recipe remains unchanged!
Final Thoughts
I hope this Peanut Butter and Jelly Cobbler brings joy to your kitchen as much as it does to mine! It’s simple yet incredibly satisfying, making it perfect for gatherings or just a cozy night in. Enjoy making this delightful treat that combines the classic flavors we all love. Happy baking!
Peanut Butter and Jelly Cobbler

Looking for a delightful dessert that’s quick and easy to make? Look no further than this Peanut Butter and Jelly Cobbler! Combining the nostalgic flavors of peanut butter and strawberry, this simple yet satisfying treat is perfect for any occasion, from family gatherings to cozy nights at home. With just three ingredients, you can whip up a warm, gooey dessert that will have everyone asking for seconds. It’s a one-dish wonder that requires minimal cleanup, making it an ideal choice for busy weeknights or fun potlucks. Whether enjoyed on its own or topped with dairy-free ice cream, this Peanut Butter and Jelly Cobbler is guaranteed to bring smiles all around.
- Prep Time: 8 minutes
- Cook Time: 40 minutes
- Total Time: 48 minutes
- Yield: Serves 12 1x
- Category: Dessert
- Method: Baking
- Cuisine: American
Ingredients
- 2 x 21 oz cans of strawberry pie filling
- 17.5 oz package of peanut butter cookie mix
- 1/2 cup of melted butter
Instructions
- Preheat oven to 375°F (190°C).
- Spread both cans of strawberry pie filling evenly in a 9 x 13 inch baking dish.
- In a bowl, mix the peanut butter cookie mix with melted butter until well combined.
- Sprinkle the cookie dough mixture over the strawberry filling in small clumps.
- Bake for 35-40 minutes until golden brown on top.
- Let cool slightly before serving warm.
Nutrition
- Serving Size: 1 serving
- Calories: 290
- Sugar: 22g
- Sodium: 180mg
- Fat: 14g
- Saturated Fat: 7g
- Unsaturated Fat: 6g
- Trans Fat: 0g
- Carbohydrates: 38g
- Fiber: 1g
- Protein: 4g
- Cholesterol: 15mg